Also I'm not much of a Skype user or a big "selfie" kind of guy and don't really have a need for a camera/microphone on my laptop. It's just a security risk and unnecessary bloat on my computer as far as I'm concerned and there have been instances of voyeurs using malware to capture intimate moments when someone left their laptop open in their bedroom...
So if you're like me and don't need to have all this connectivity on every device you own, we want to modify that. The laptop being used in the tutorial is a Fujitsu Lifebook A-Series.
List of Materials:
--Laptop
--Knife or paint scraper
--Screw driver
--Wire cutters
Most of the tutorial is using your hands to pry open lots of areas, very manual-intensive project.
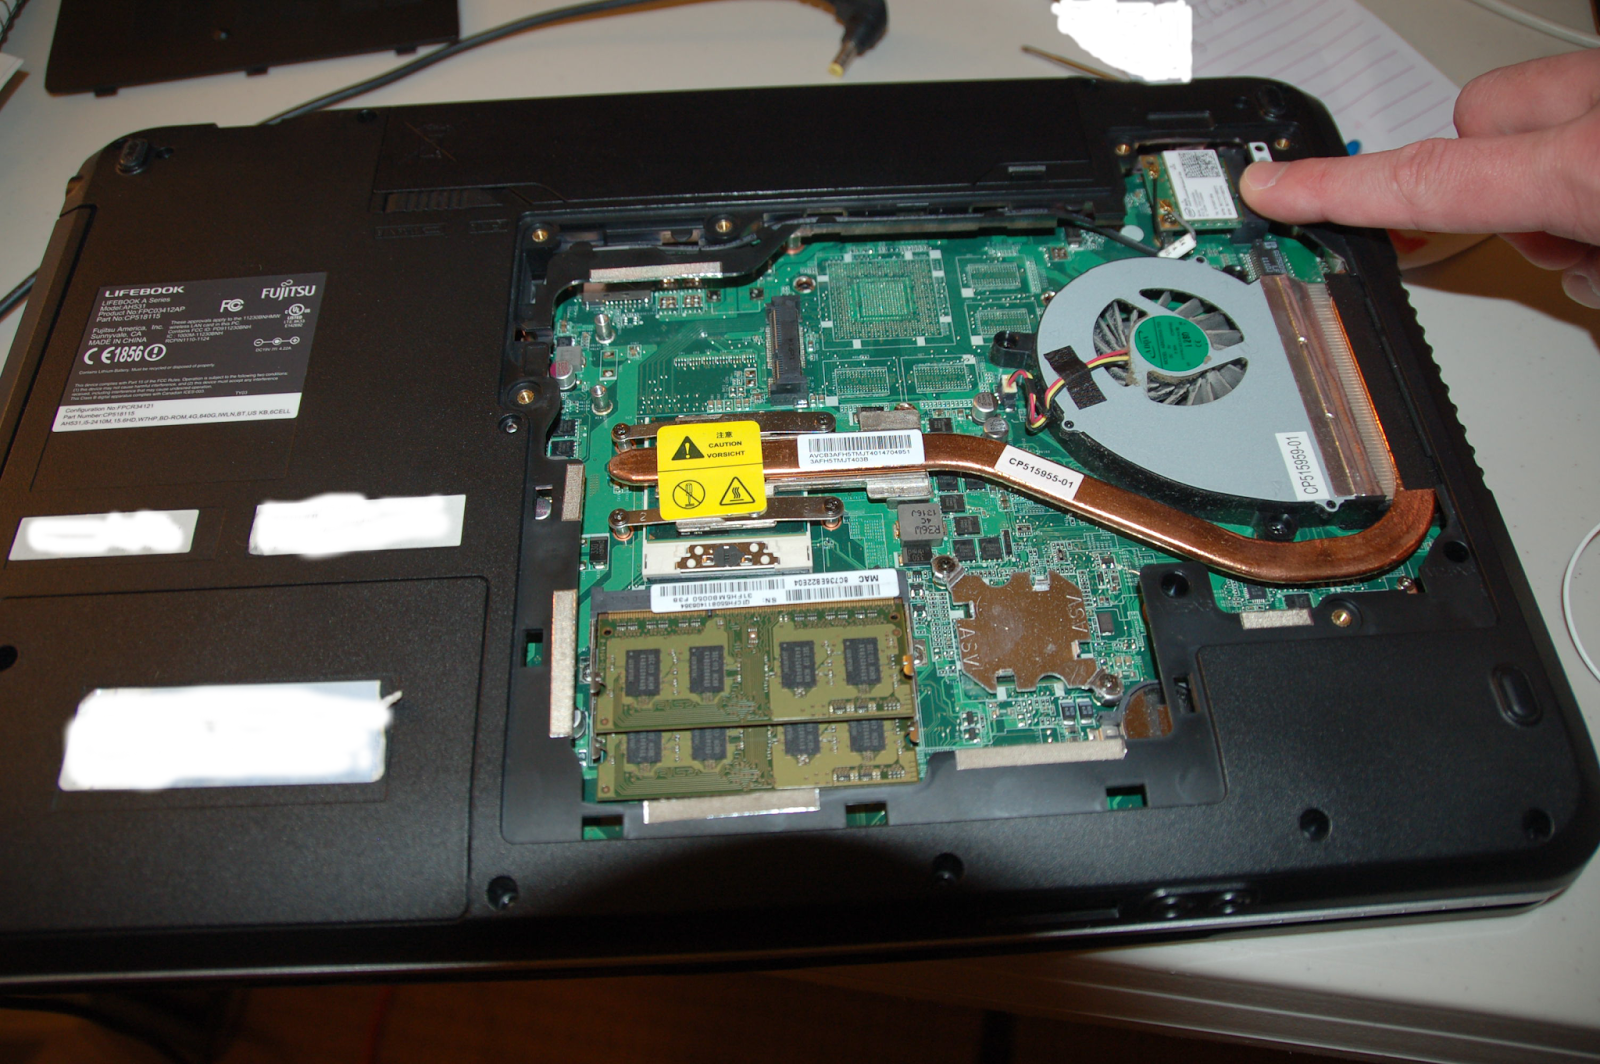
To start, here's my working computer with the Wifi card:
1) Now flip over, take out the battery and begin taking out a lot of screws. I won't even circle them all in pictures, there's something like 23 screws just for the exterior to be able to pry apart the plastic cover. So just be cautious and keep track of every screw you take out. Take out the hard drive too, it's about a 3X4" rectangle near bottom left in the picture; should slide out pretty easy.
3) However the antenna disappears to the other side and I don't want to leave that in. Can't be yanked out. Also at this point take out the CDROM too before you go to the other side. There is one screw holding it in and you can use a paper clip or thin-metal object to insert in a hole by the outside to open it and just pull the unit out.
4) Now flip over to the front of the laptop. You can pry open the speaker cover with your prying-tool of choice (needs to be thin enough) and pop that cover off. You will see the underside of the power button and a couple speakers, as well as the hinges for the LCD screen and the screws needed to remove it. Also you can pop out the keyboard BUT BE VERY CAREFUL as I popped out the thin cable for the keyboard and nearly needed to go to a repair shop. You really don't need to take out the keyboard for this though, but you might as well take a peek now anyway if you want. The Wifi antenna continues on up the right hinge up into the LCD screen, so we need to remove that.
5) Now there's 2 screws holding the screen to the computer, take them off and lift up the LCD screen. You can pull the antenna thru so the screen can be completely removed. Again, be cautious and patient so you don't end up need a new LCD screen.
6) There's 4 screws on the outside corners of the screen, which are covered up with black rubber bumpers. You have to pop those off and unscrew the screws. Prying it open carefully, you can see the antenna going up the right side. Keep pulling it out and moving up to the embedded camera/microphone at the top of the screen. There you'll see the antennas soldered to be held in place and the 2 antennas aren't the same size. Snip them off with wire cutters and you got all the antennas. Down the backside of the LCD is where the camera/microphone get power. I simply snipped that with wire cutters and pulled out the camera/microphone.
7) Here's the removed components, antennas, Wifi card, and camera/microphone. It's an Intel Centrino Wireless-N-1030 module with Bluetooth. I don't know what brand the camera/microphone is.
[PDF WARNING]
http://www.intel.com/content/dam/www/public/us/en/documents/product-briefs/centrino-wireless-n-1030-brief.pdf
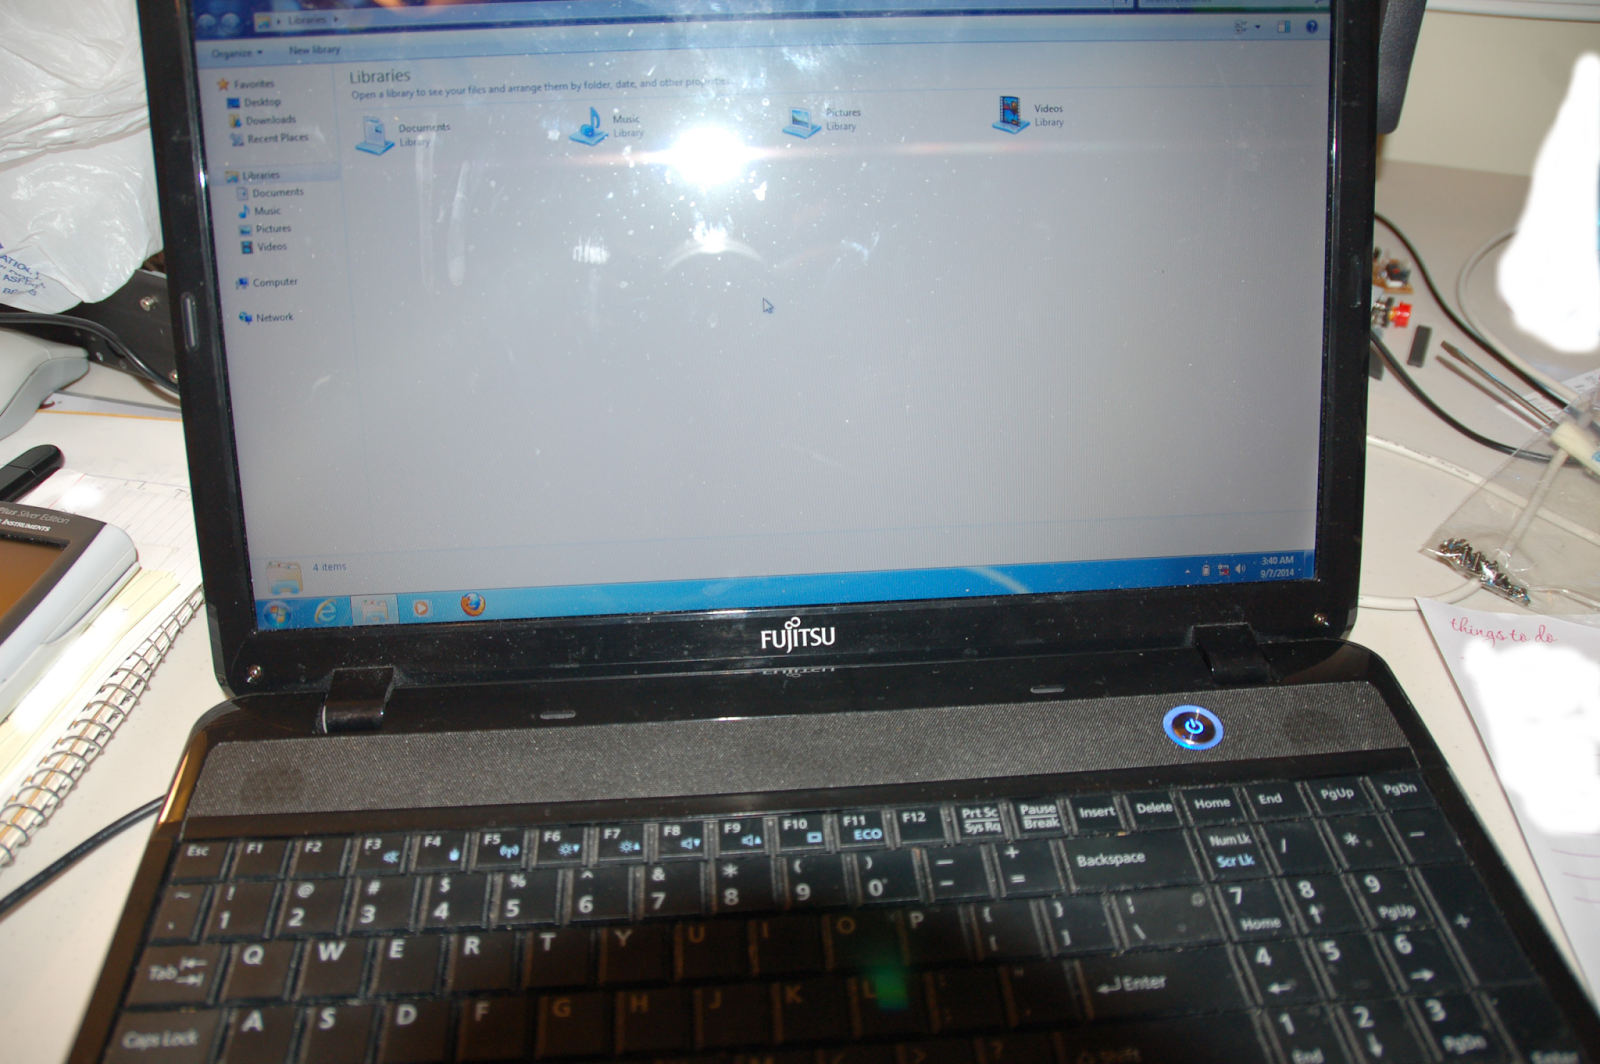
8) And now you have to reverse everything you did and put everything back together. You should do it as soon as possible and not put it off because you may forget some things. Here's my laptop working again, and hmm..It was having trouble finding the Intel Wireless card, huh..weird. :P Connecting to wifi is still possible with the multitude of wifi-USB modules that are available, I have an old D-Link one and I just needed to download a driver from a website (on another computer of course!). And now I can connect to wifi when I want and have a reasonable assurance that when I don't want to, it's close to not possible. Speakers stayed in but I may remove them too in the future. Be safe and protect yourself.


